Reel in the Fun: Reviewing the Moose Ridge Molds Reference #120 "Braid" Open Pour Mold


Today, we're going to take a close look at the Moose Ridge Molds Reference #120 "Braided Paddle Tail" Open Pour Mold. This mold produces a soft plastic 6" Paddle Tail Worm bait that not only looks good but has been a proven performer for bait-makers and anglers alike. With a 5-cavity capacity and a price tag of just $20 each, available through Moose Ridge Molds' Facebook Page, this mold is ideal for both hobbyist and professional bait makers. Let’s dive in and see what makes this mold so special!
What's it made of?
Like all Moose Ridge Molds, the Reference #120 "Braided Paddle Tail" is crafted from a high-temperature composite resin known as "Bloo Goo." This material is engineered to withstand the high heat of soft plastic bait making. For those unfamiliar with MRM’s composite molds, "Bloo Goo" might sound a bit daunting. However, my experience with these molds has been overwhelmingly positive. After pouring thousands of baits over the past year using various MRM molds, I can confidently say that they are durable, reliable, and still look brand new.
Up Close with the MRM #120 "Braided Paddle Tail" Open Pour Mold


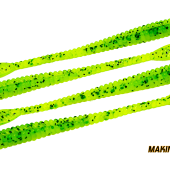


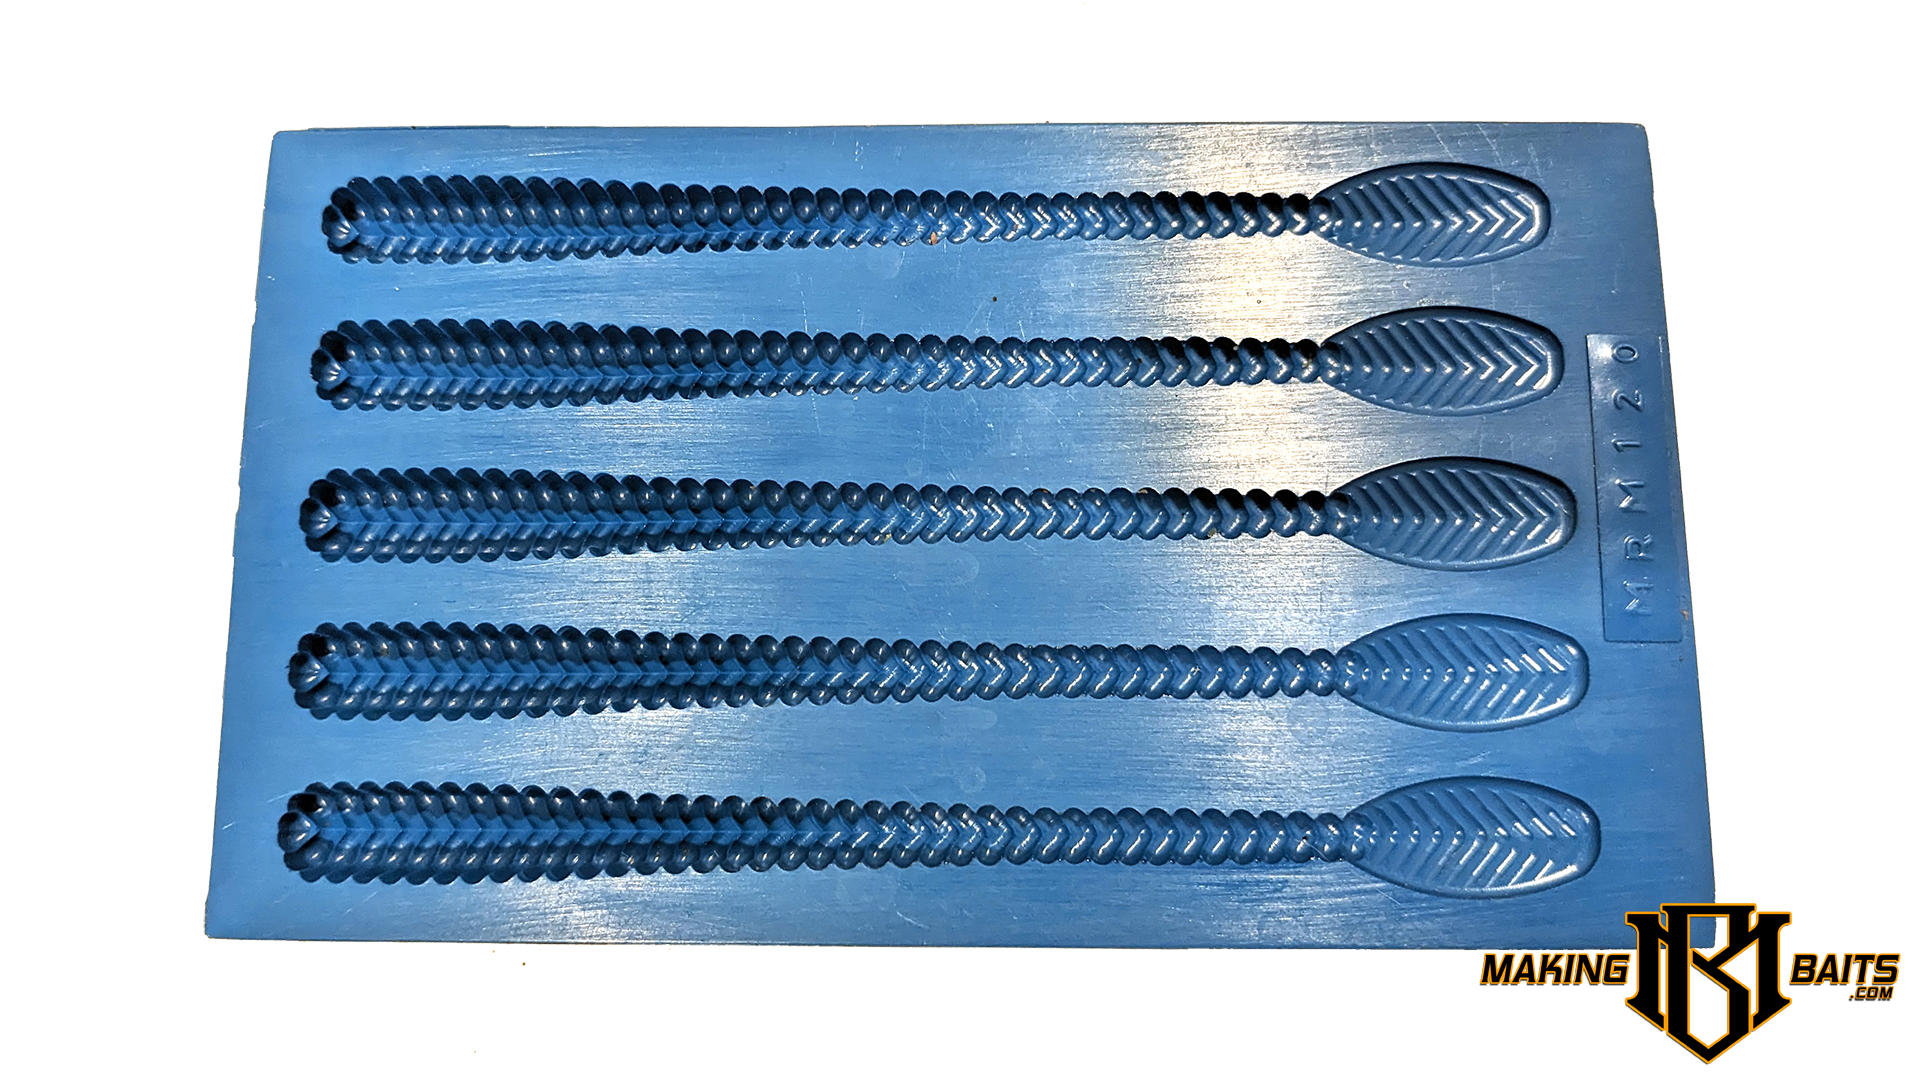
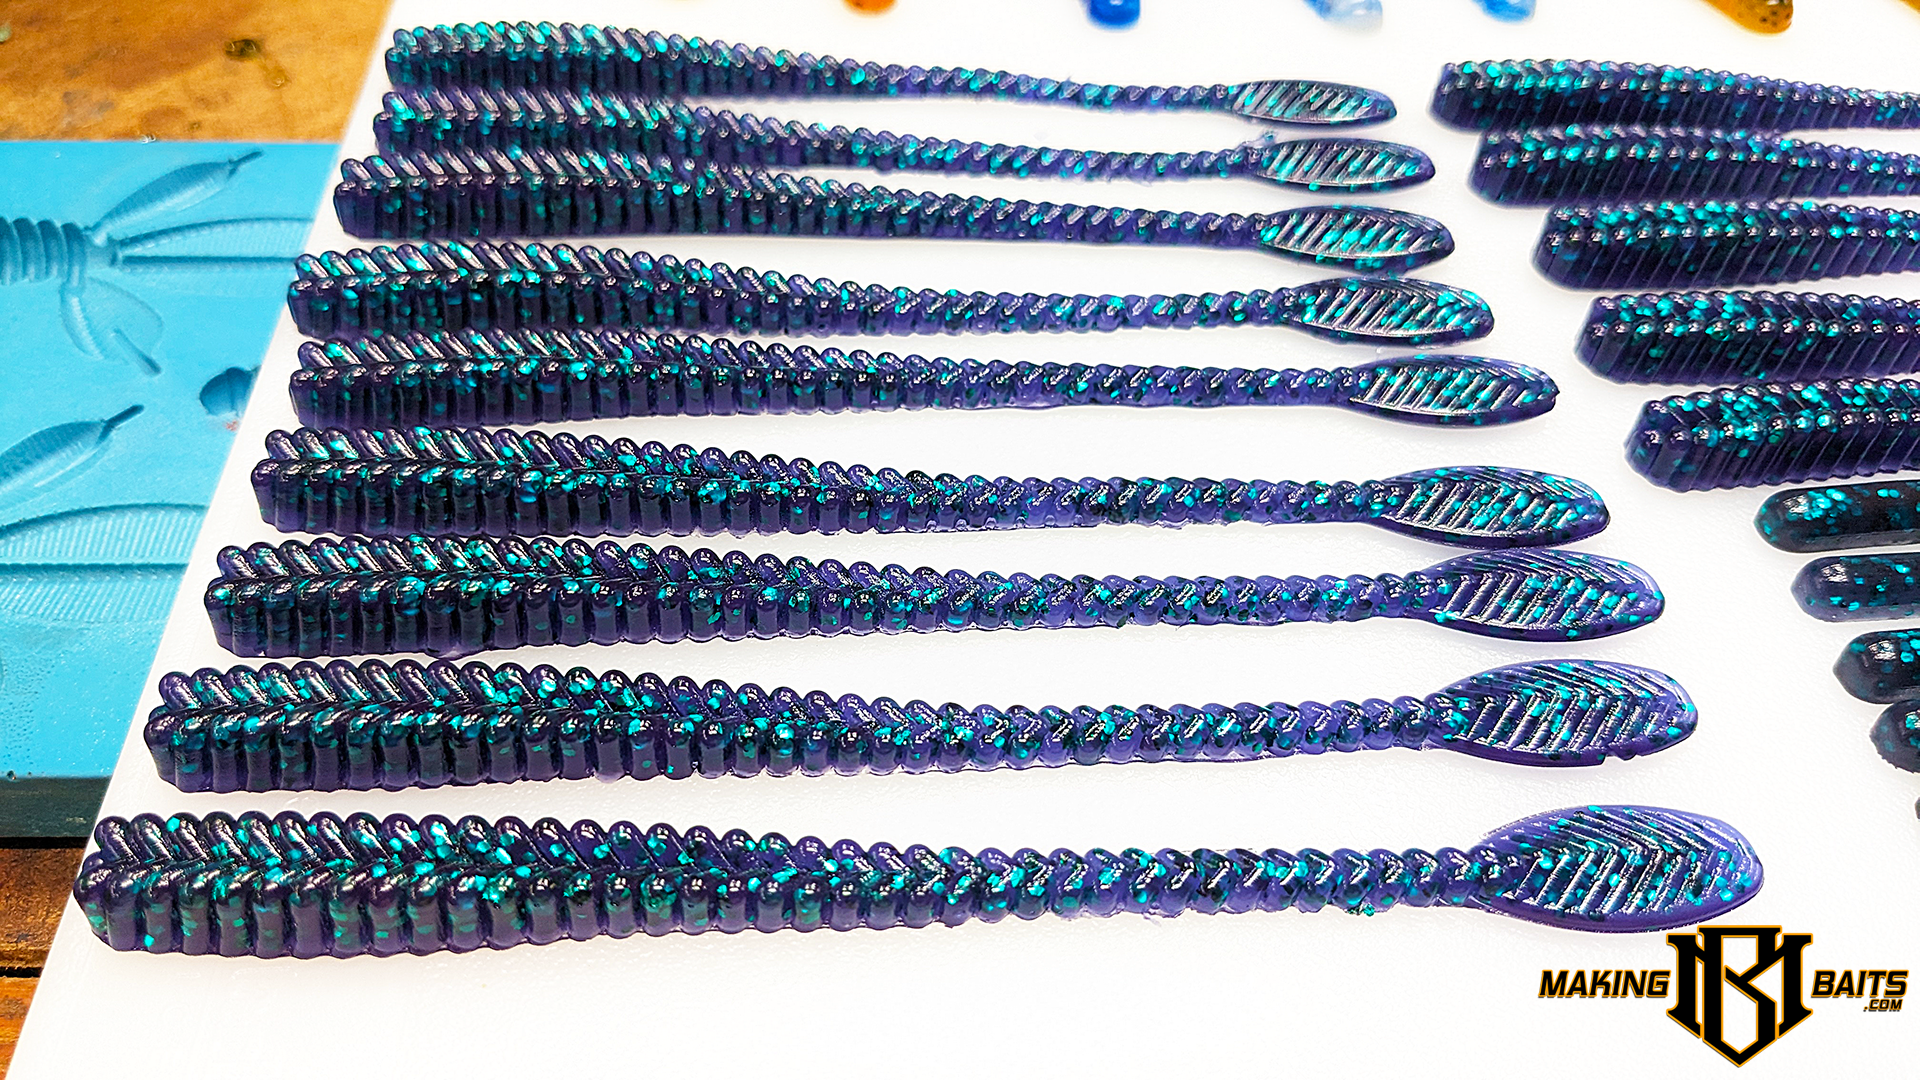
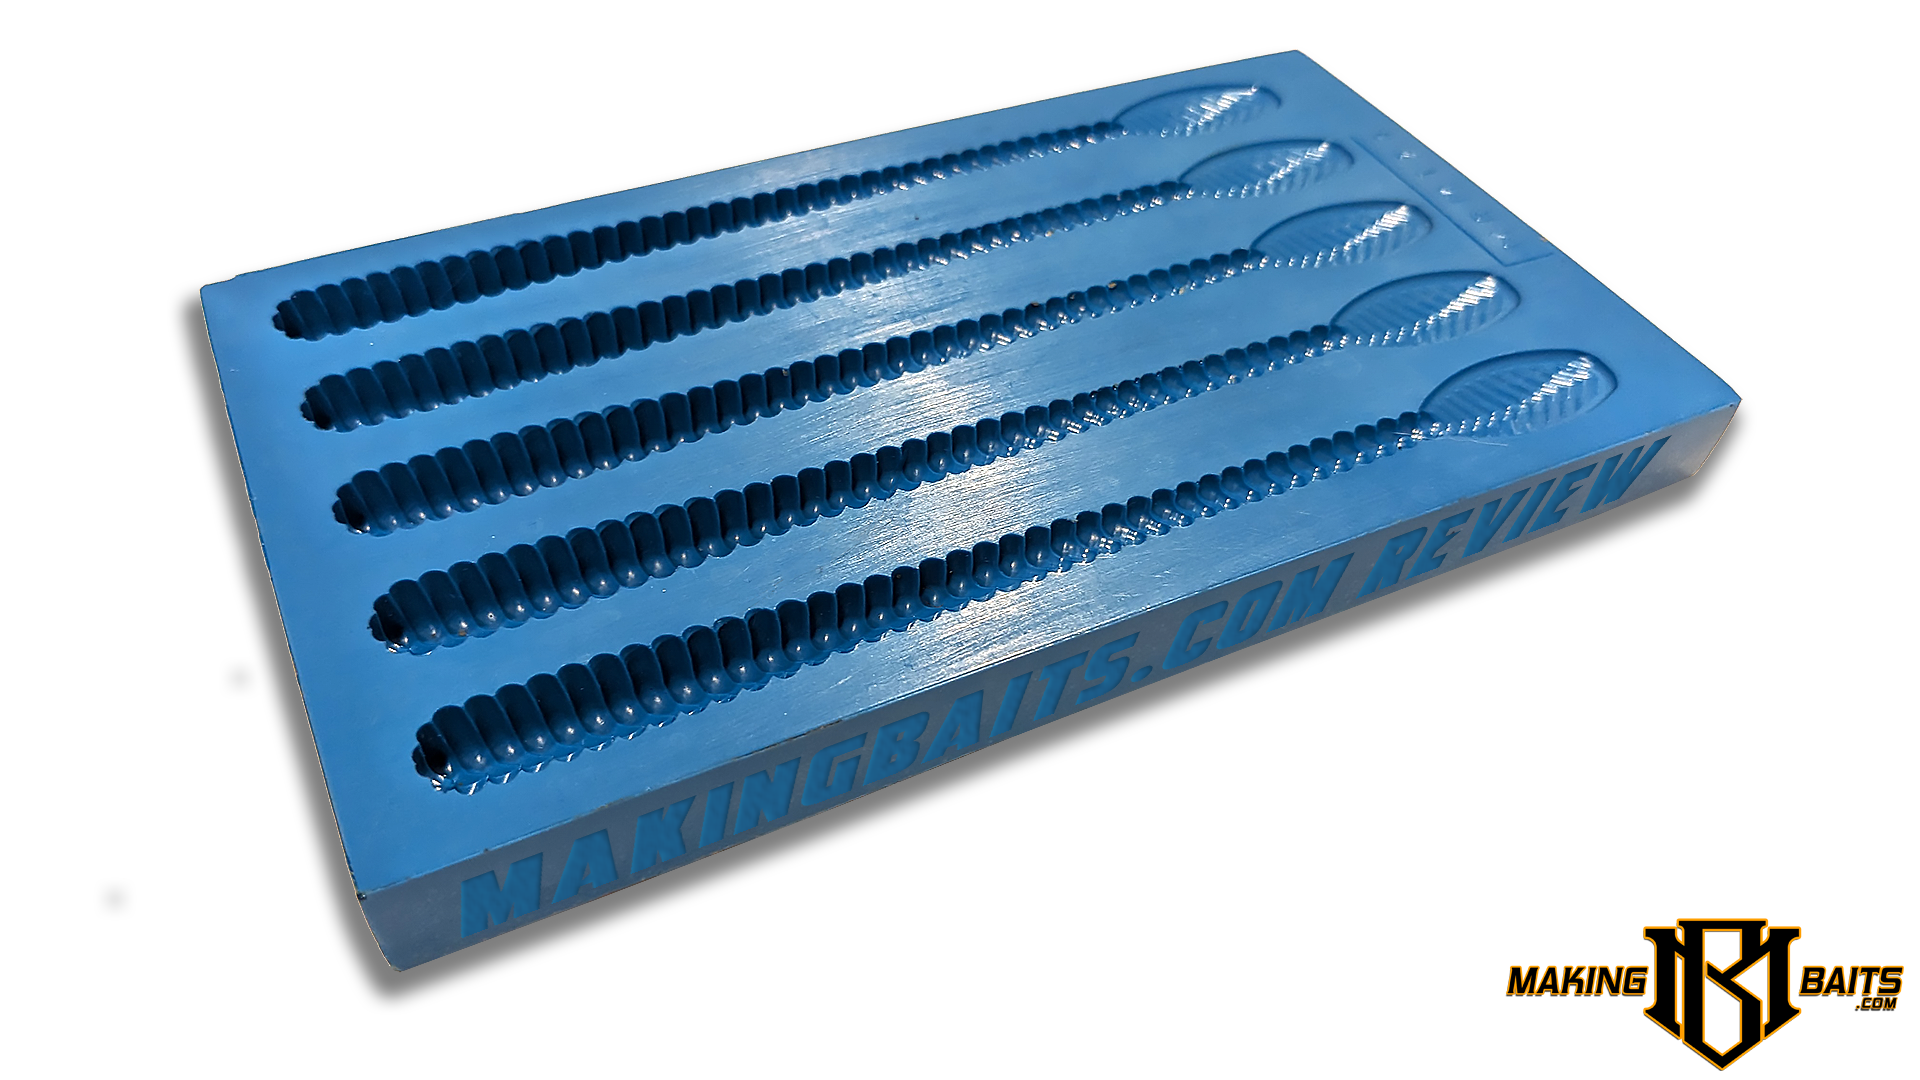
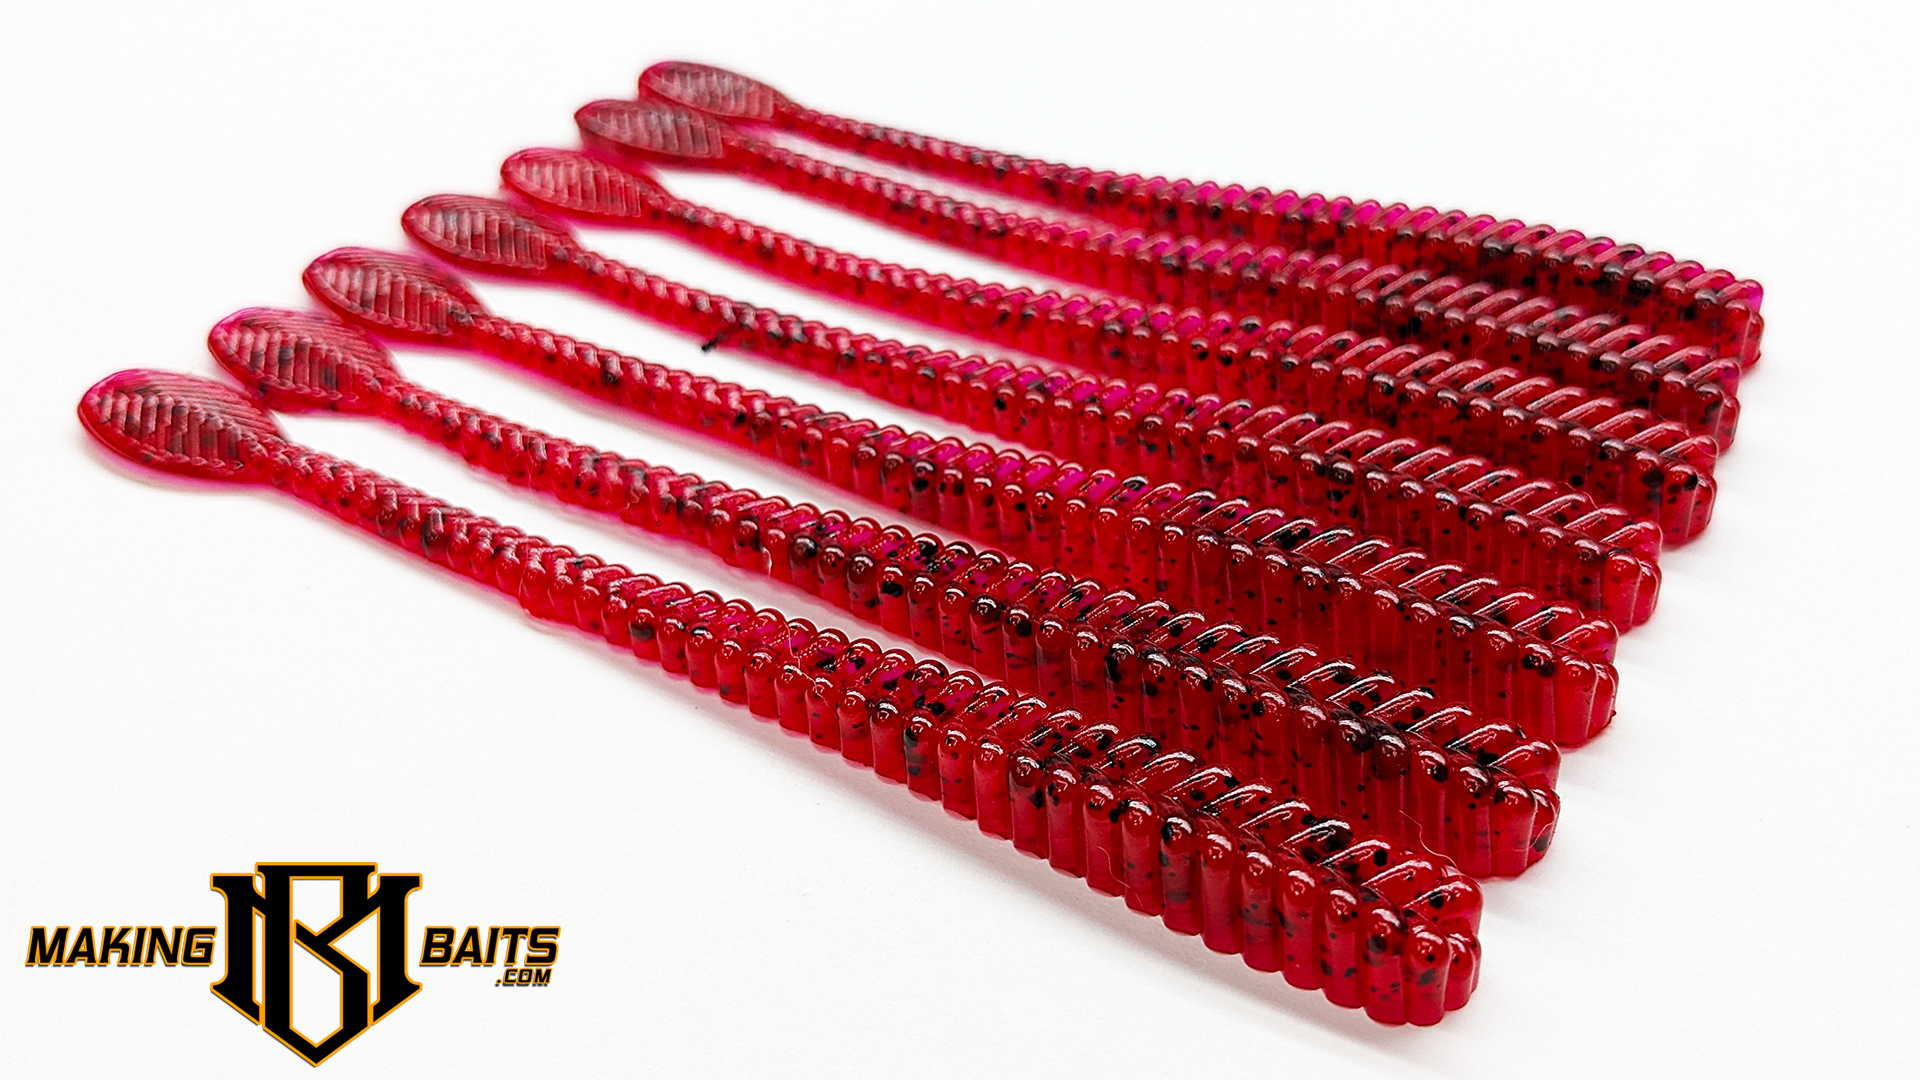
The Reference #120 is a 5-cavity mold that produces 6" soft plastic paddle tail worm baits with a unique braided pattern on the surface. Each cavity boasts a shiny surface finish and clean, flawless lines. Moose Ridge Molds meticulously prepares each mold by sanding the bottom flat and co-planer with the surface, ensuring a level and even pour. The edges are also sanded square to ensure consistent size and quality across all molds.
What is an Open Pour Mold?
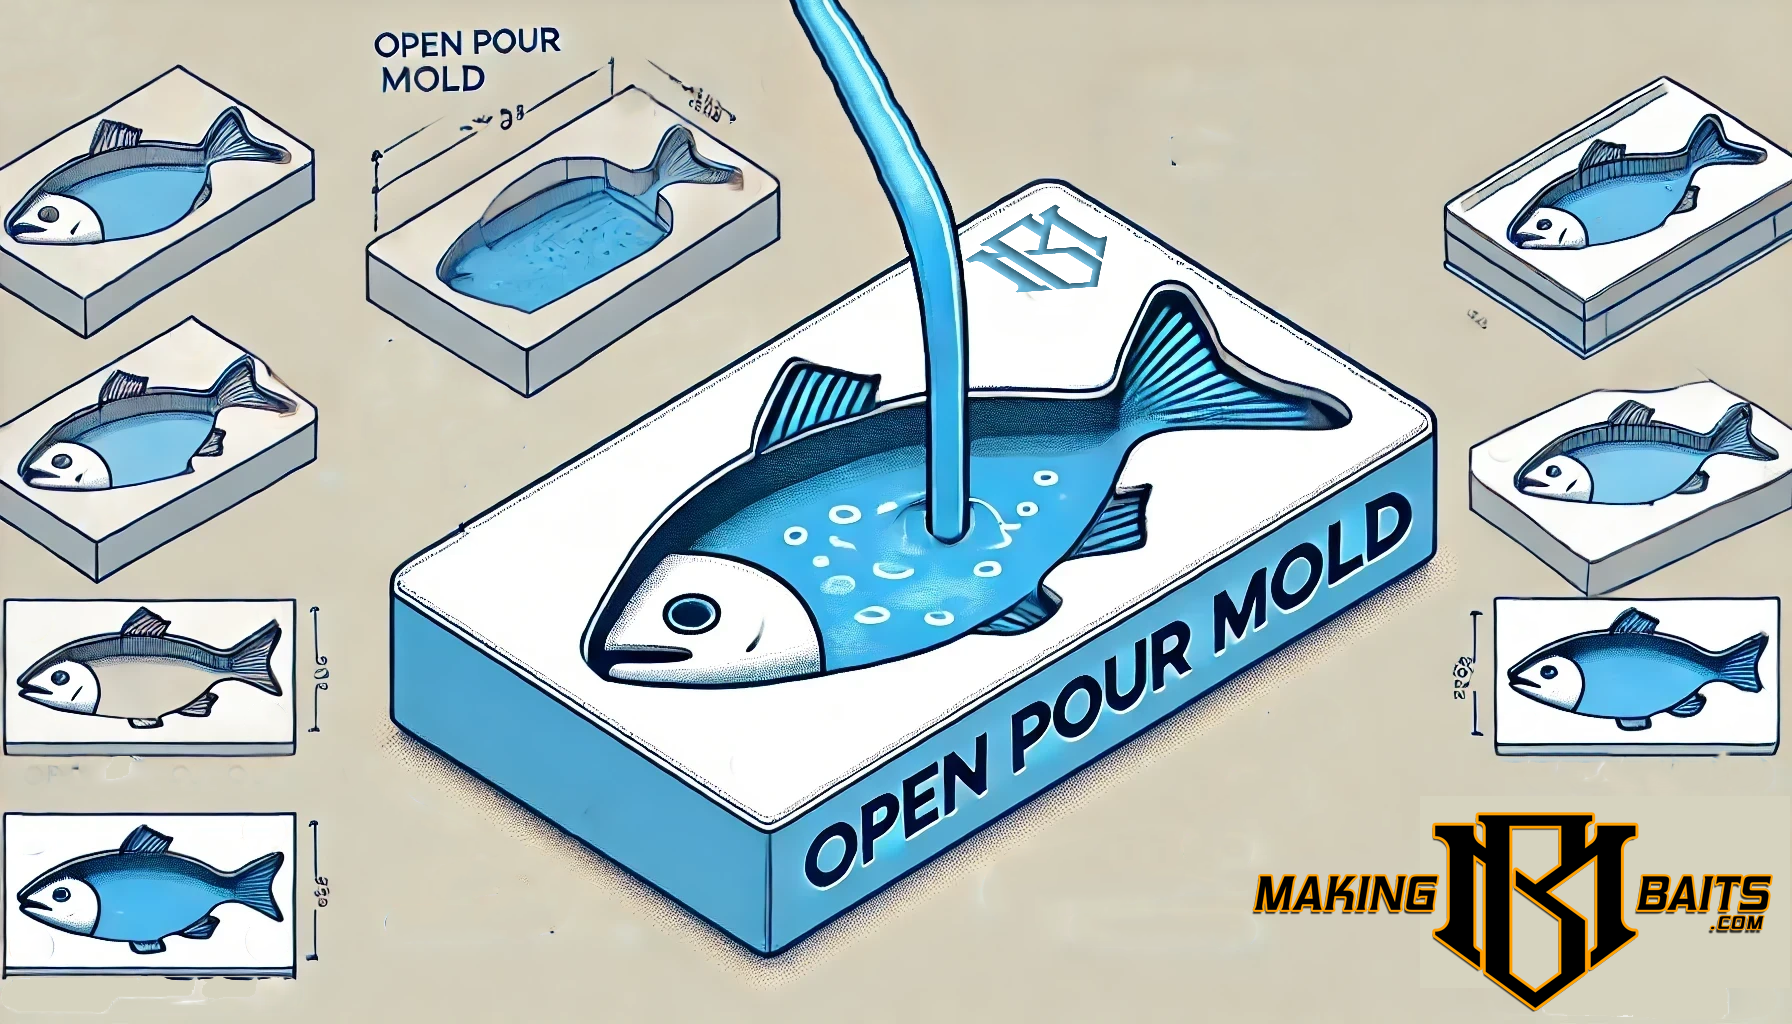
An Open Pour Mold is designed to be filled from the top, resulting in a one-sided bait that is flat and smooth on the open side. These molds are typically more affordable and beginner-friendly, requiring less equipment and setup to produce quality baits. They also make it easier to create multi-colored baits using lamination and skin-pouring methods.
How does the MRM #120 Perform?
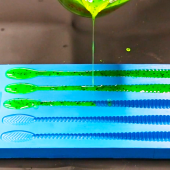
The MRM #120 is user-friendly and ideal for beginners. The cavities are designed without small, intricate elements that might complicate the pouring process. For single-color baits, use the Thin-to-Thick Method: start at the tail and slowly push the "wave front" of plastisol forward, keeping it in front of the stream as you pour. This ensures the cavity fully fills behind the stream of plastisol. When you get to the head of the bait, slow down and top off the mold. For laminated baits, the process is similar, but you fill the cavity only halfway with the first color. Quickly switch to the second color and fill the cavities the rest of the way. Avoid pouring too slowly or waiting too long between colors to prevent "Cold Cracking" and poor layer adhesion.
I have six of these molds and have poured well over 600 #120 Braids since receiving them last year. After a few practice pours, I was able to pour each 5-cavity mold in less than a minute. With a cool down of 5-7 minutes after the pour, and having 6 molds, I can pour 30 Braided Paddle Tails every 7 minutes or so.
Two Baits One Mold
The Moose Ridge Molds Reference #120 Braided Paddle Tail Worm mold is primarily designed for creating paddle tail worms, but few people know of its dual-use nature. Coined “Rob’s Technique", after the founder of Moose Ridge Molds, this technique lets you turn your $20 #120 Braid mold into a dual-use powerhouse.
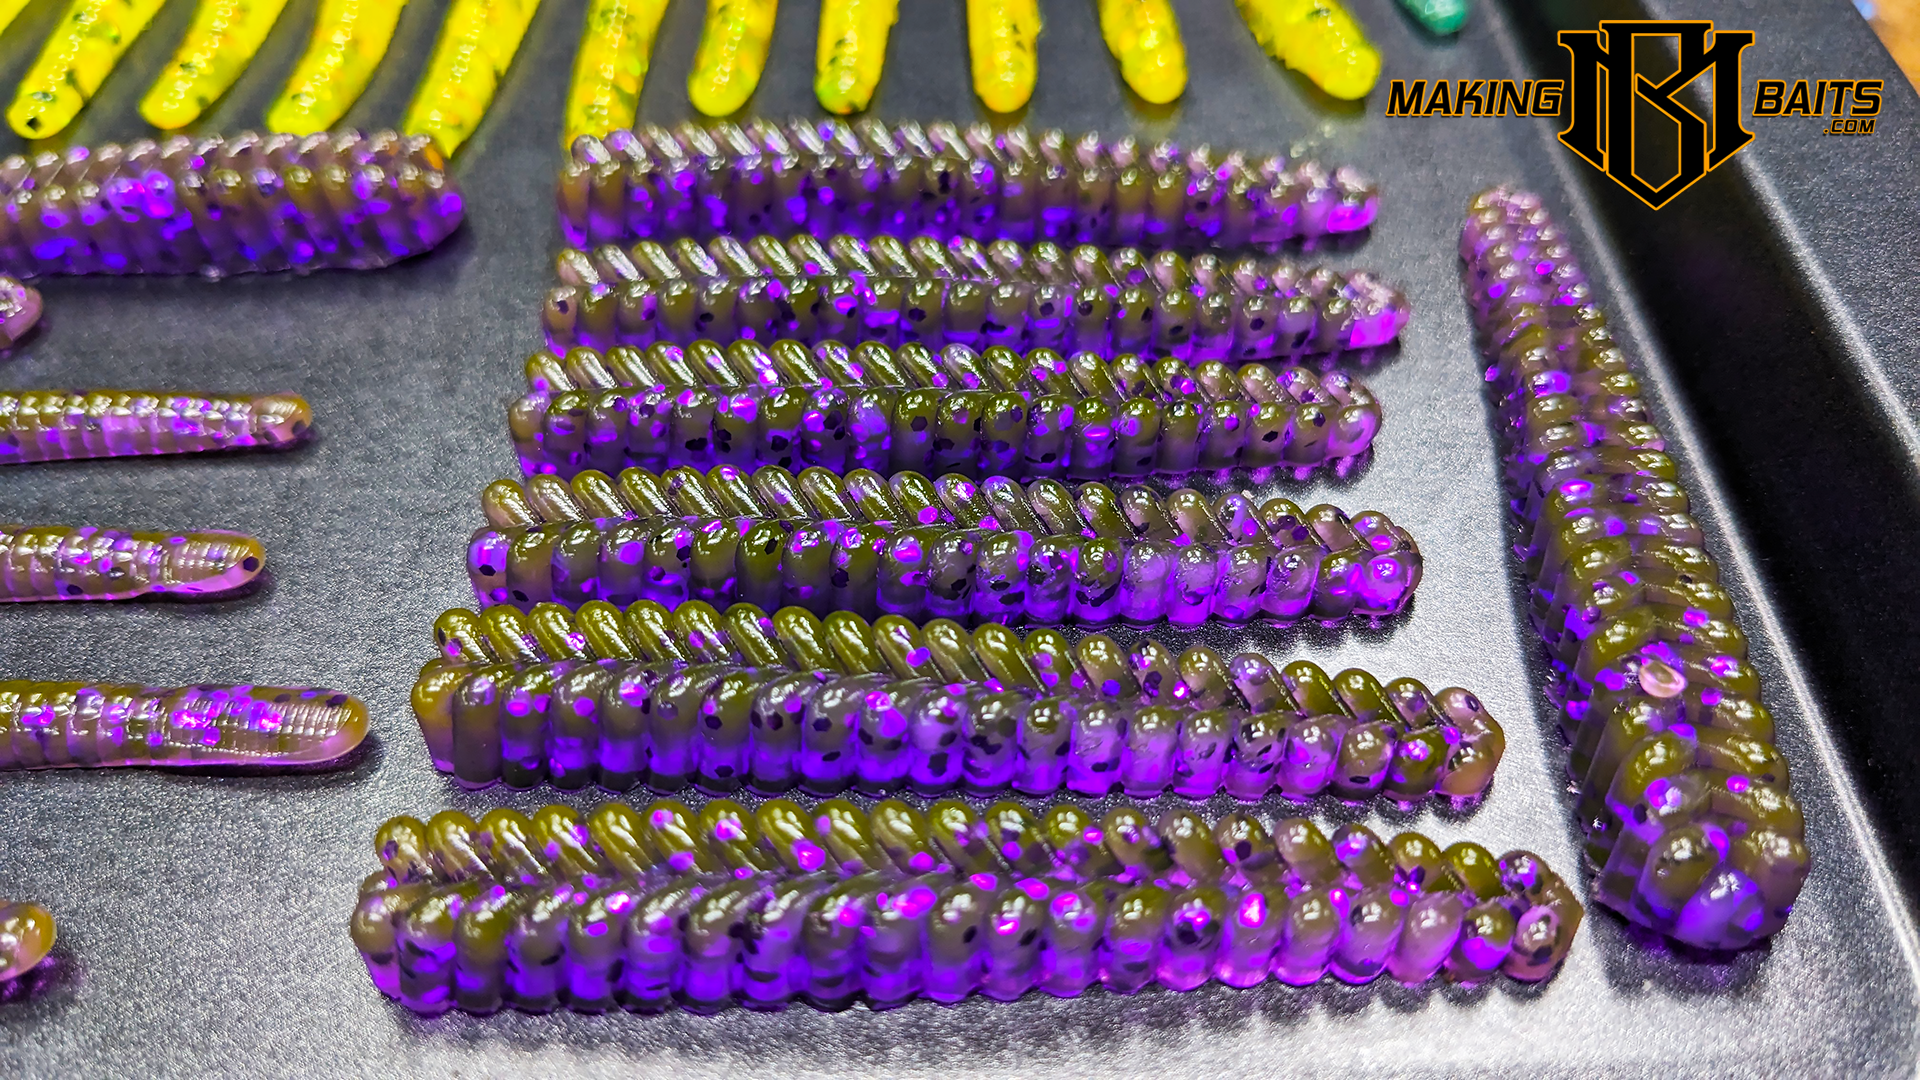
If you elevate the tail end of the mold by just about 1/16th to 1/8th of an inch, you can partially pour some amazing and unique ned-style baits. I like to call these little partial pours “Rattle Snake Tails,” which was coined by another baitmaker, I just forget who. (I will update with the bait maker’s name if I can figure it out.)
Step-by-Step Guide to Rob's Ned Technique
- Elevate The Mold: Position a nickel on each corner under the paddle tail end of the mold to elevate it, keeping the tail end on the table's surface. This slight elevation helps with the pouring process, especially for beginners.
- Make Your Mark: Measure 2.5-inches to 3-inches (what ever works best for you) down from the tip of the head of the worm and draw a line across the mold with a sharpie, or use a piece of tape if you do not want to permanently mark the mold.. This mark will serve as a stopping point guide to ensure consistent bait size.
- Prepare The Plastic: Heat your plastisol to about 320-325°F, slightly hotter than usual. This temperature ensures a smooth flow and a well-formed taper in the bait.
- Break the Rules: Pour the plastisol from thick to thin, starting at the head of the mold and moving towards the tail. This unconventional method creates the desired Ned-style bait.
- Commence Cup Tilting: Begin pouring slowly at the head of the mold cavity. Control the flow as it fills, pushing the plastisol forward carefully.
- Stop means STOP: As you approach the mark, taper off the flow and stop completely. This precision ensures the perfect length and shape of your bait.
- Clean Up: Once the baits are cool enough to handle, remove them from the mold and let them cure on a flat surface.
Rob's Ned Technique transforms the versatile Reference #120 mold into a powerful tool for creating unique Ned-style baits as it further increases the cost to value ratio of this already very affordable mold. Perfecting this method requires practice, but the results are well worth the effort. Share your creations on social media and join our community of innovative bait makers.
Does It Need Preheating Before Pouring Or Surface Heating For Laminates?

None of the Bloo Goo-based molds from Moose Ridge Molds require preheating. In fact, Moose Ridge Molds specifically advises against it. Using a hot plate, griddle, heat gun, or hair dryer can warp the mold. This is due to the lower thermal conductivity of the composite material compared to aluminum molds. The molds will need slightly more time to cool down before removing the baits, especially if the mold has thin ridges like a hook slot. However, this slight inconvenience is a small price to pay for the durability and longevity of the molds.
Value
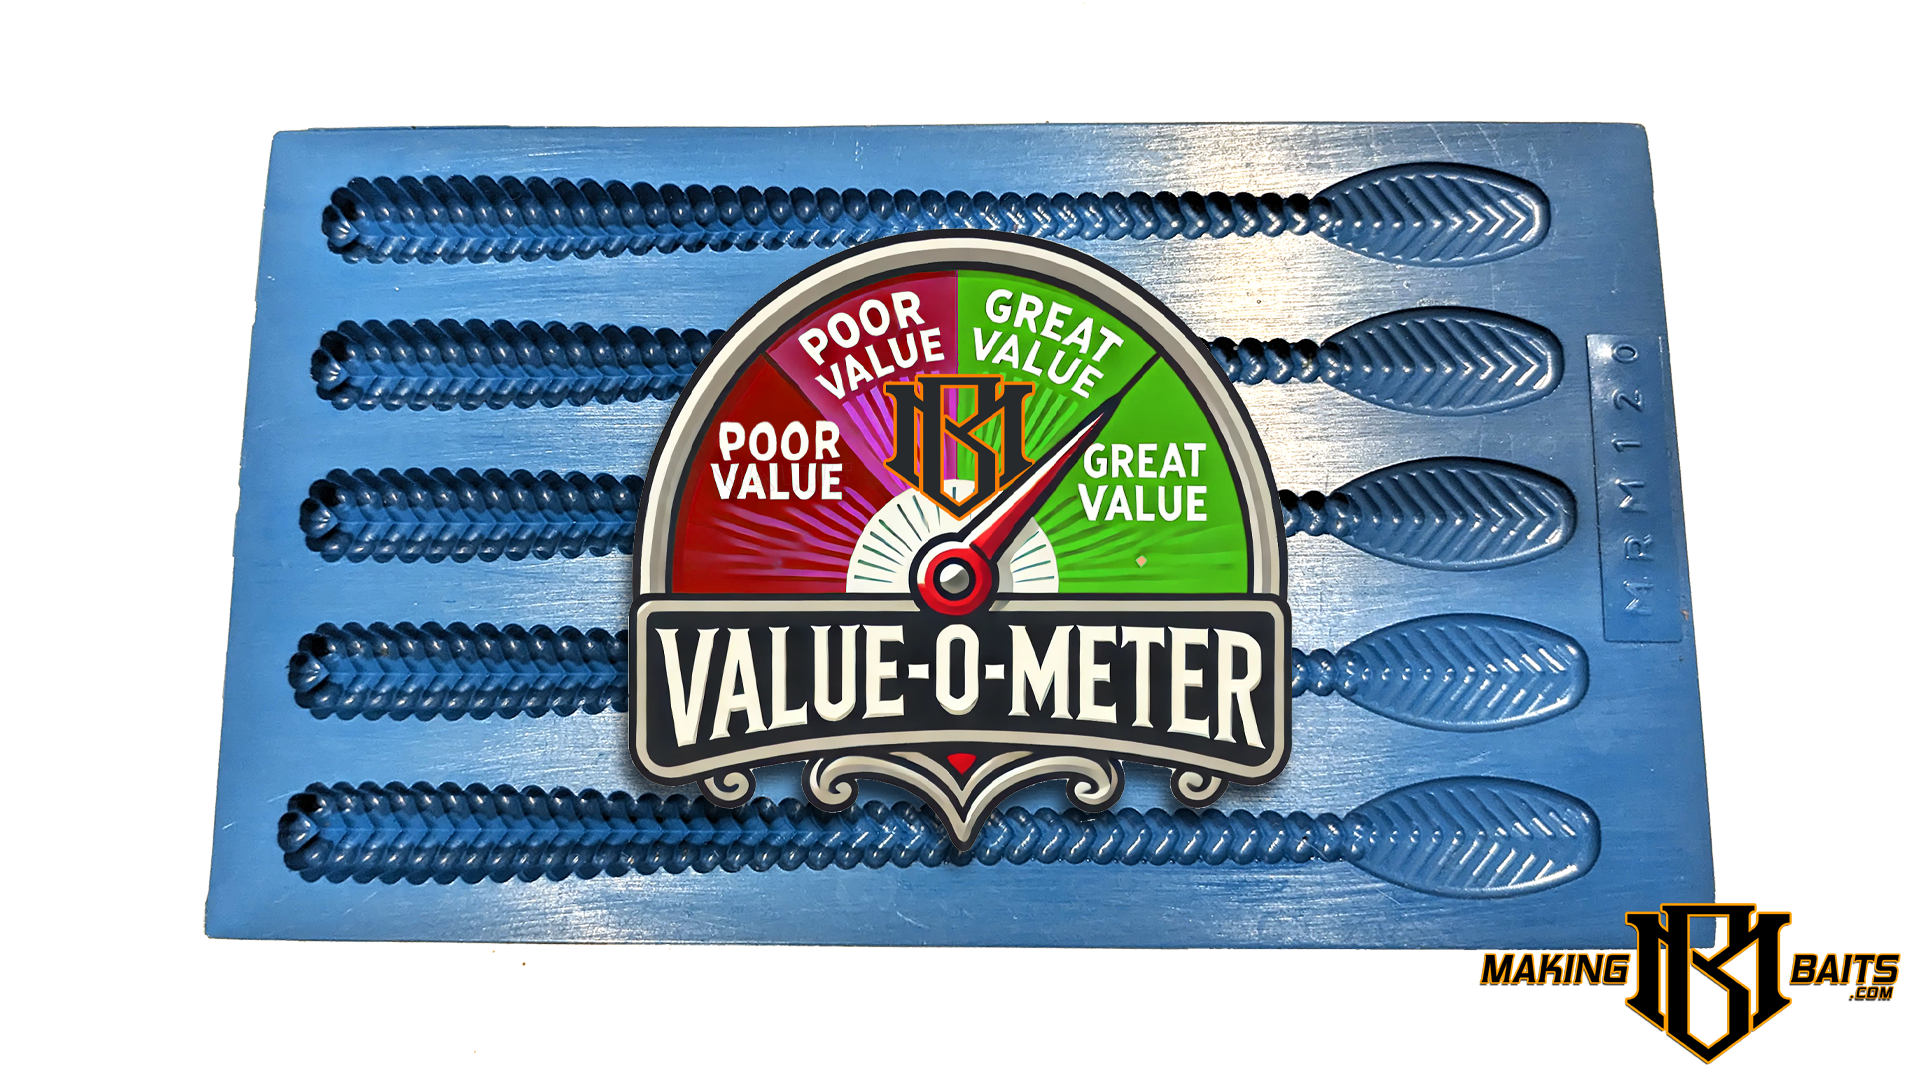
At just $20, the Reference #120 Braided Paddle Tail mold offers exceptional value, especially when compared to aluminum injection molds, which can cost significantly more. For $200, you can purchase ten of these molds and have the capacity to produce approximately 50 Braided Paddle Tails every 10 minutes, depending on your pouring speed and skill level.
Conclusion
The Moose Ridge Molds Reference #120 "Braided Paddle Tail" is a fantastic open pour mold that offers an unmatched value-to-performance ratio. Whether you are looking to produce unique braided style worm baits for personal use or for a bait-making business, this mold is an excellent investment. Its durability, ease of use, and affordable price make it a must-have for any bait maker.
With over 600 Braided Paddle Tails produced using my six molds, I can attest to their quality and longevity. I highly recommend the Reference #120 Braided Paddle Tail Open Pour Mold to anyone looking to elevate their bait-making game.
Up Next!
Stay tuned for our next Bait Mold Review! If you enjoyed this review, please visit our Facebook page and join our community for more tips and tricks on bait making. Happy Bait Making!
